A while ago I saw a great tutorial from Project Nursery.com via Plush Addict’s Facebook page on making a beanbag.

The instructions were very easy to follow, but despite it saying it could be made in 30 minutes, it took me a wee bit longer than that. Like maybe closer to two hours. This is probably down to the fact I had to measure out my fabric, trim it to size, iron it, lay it out on my kitchen floor, pin it up, trim it again as somehow one piece was bigger than the other before I could get on with any sewing.
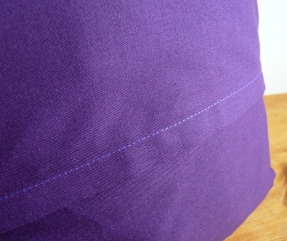
I decided to go for a non-heavyweight fabric, I may end up regretting that, but I’ve been sure to make sure I secure my seams pretty well and my stepson has been advised that as it’s been lovingly made by yours truly, that it would be nice if he didn’t constantly throw himself on it.
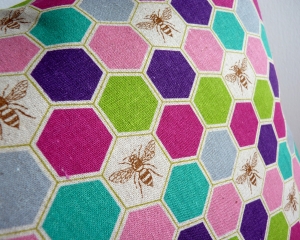
I picked Passing Clouds in Gold by Elouise Renouf for the Bark & Branch collection of Cloud 9 fabrics. I love this design with the bold black lines and the gold yellow tones. I went for a matching Kona Solid in Yarrow. I got the clouds fabric from one of my favourite online fabric shops The Eternal Maker.


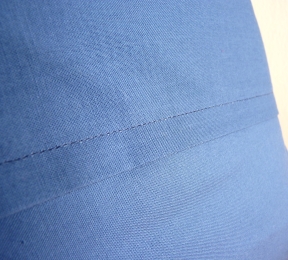
I dutifully followed the instructions, sewing up the two long sides first, folding over, cutting my curve and sewing that, and then came the bit I was a dreading. The zip. I’ve never done a zip before, ever. I’d had to look at the picture a few times to get it into my head what to do. I sent the link to the tutorial to my Mum so we could talk about it. She was all “Oh yes, it should be pretty straightforward, make sure you pin it in right sides together. Practice first with the other zip you bought a while ago.” I had bought a zip a couple of weeks ago, thinking about perhaps having a go at something with a zip. In the end I just went for it, I made sure I pinned it in, then tacked it in and took it to the machine and put my zipper foot on. Then I had no idea which way I should sew it, which side of the zip should be against what part of the foot? In the end I did a line of stitching both ways, at least it will make it a bit more secure! I also then realised how to finish it off from each side making sure none of the ends of the zip were showing on the right side of the fabric and stitched across the ends to ensure the fastener would stop and there would be no escaping beans!
The tutorial said to use 3.5 cubic feet of bean bag fill. I had bought 4 cubic feet thinking that I could top it up when required, but it turned out I needed more than that as it was looking a bit flat and sad, so I ordered another 4 cubic feet with a view to having plenty left over to use for top ups! I used probably just under half of it to finish it off.


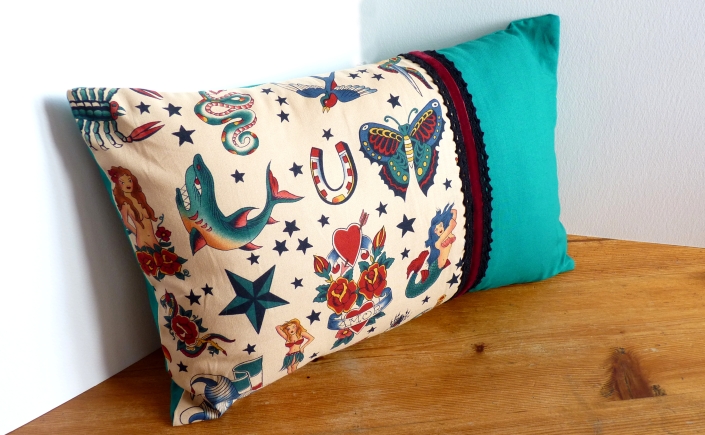
I am quite pleased with it, pleased I didn’t totally mess up on the zip and pleased that it looks vaguely like the picture, but most of all, pleased that my stepson likes it. When I told him I had made it he said ‘It’s very nice.’ Later that afternoon he spent several minutes jumping on it and then squirming about in it before eventually settling down and using it to sit in while playing on the XBox. Looks rather comfy!